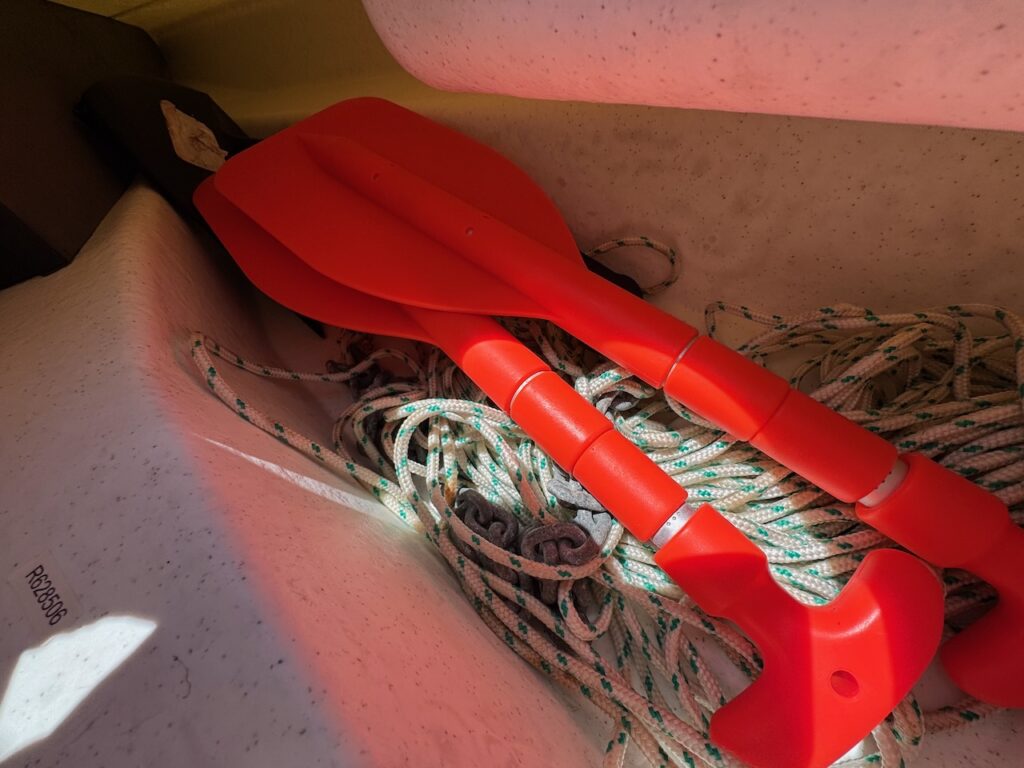

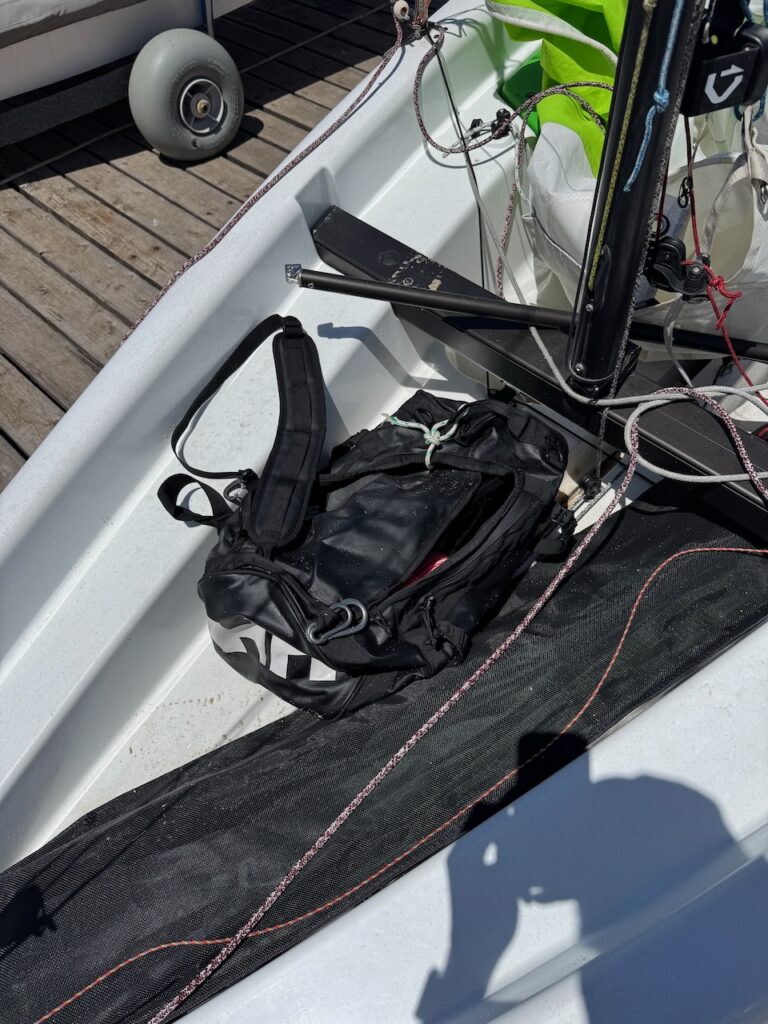
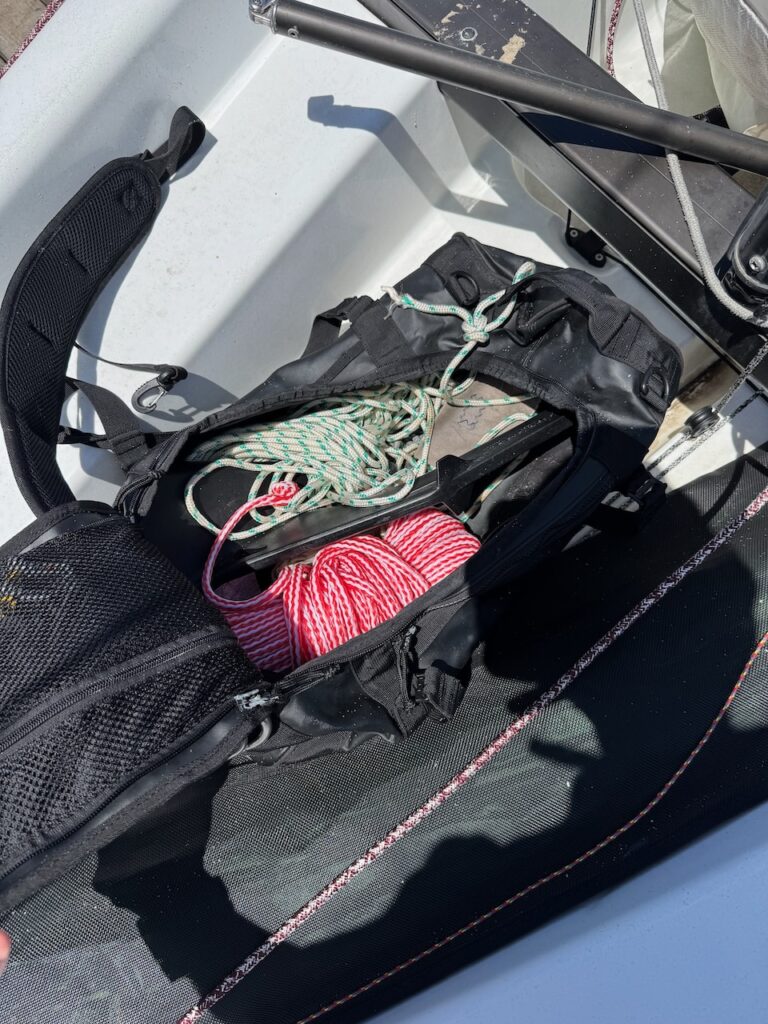
As we planned a longer cruise along the bay, we started considering how to prepare the boat for such a trip. The foredeck had always been on our minds, as it could provide some potential storage solutions in a secure and potentially waterproof way. So far we used an old HH duffel bag as on-board storage in the front for some smaller items, including the anchor, some ropes and paddles. The bag was completely corroded and not great to deal with during capsizes either – especially after the zippers had dissolved.
Also, the free space in the front, which is nice for younger kids to sit in, was not being used for that purpose (anymore). And we are not worried too much about the boat’s weight (except for getting it over sand on the dolly) as we have rarely considered racing so far.
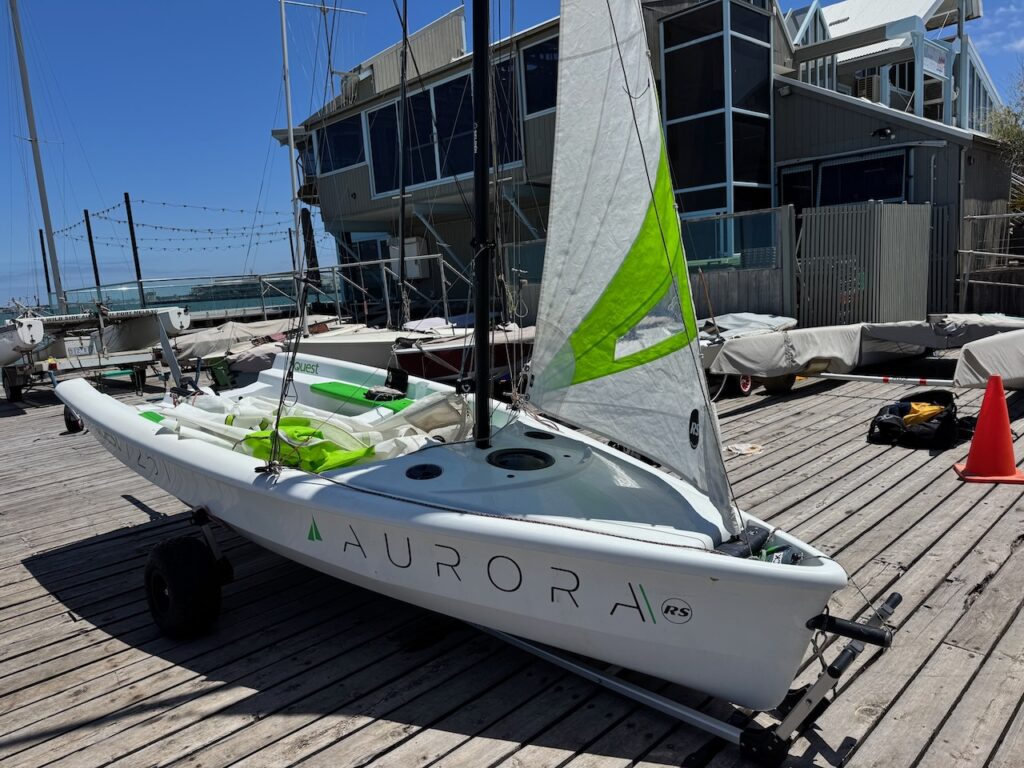
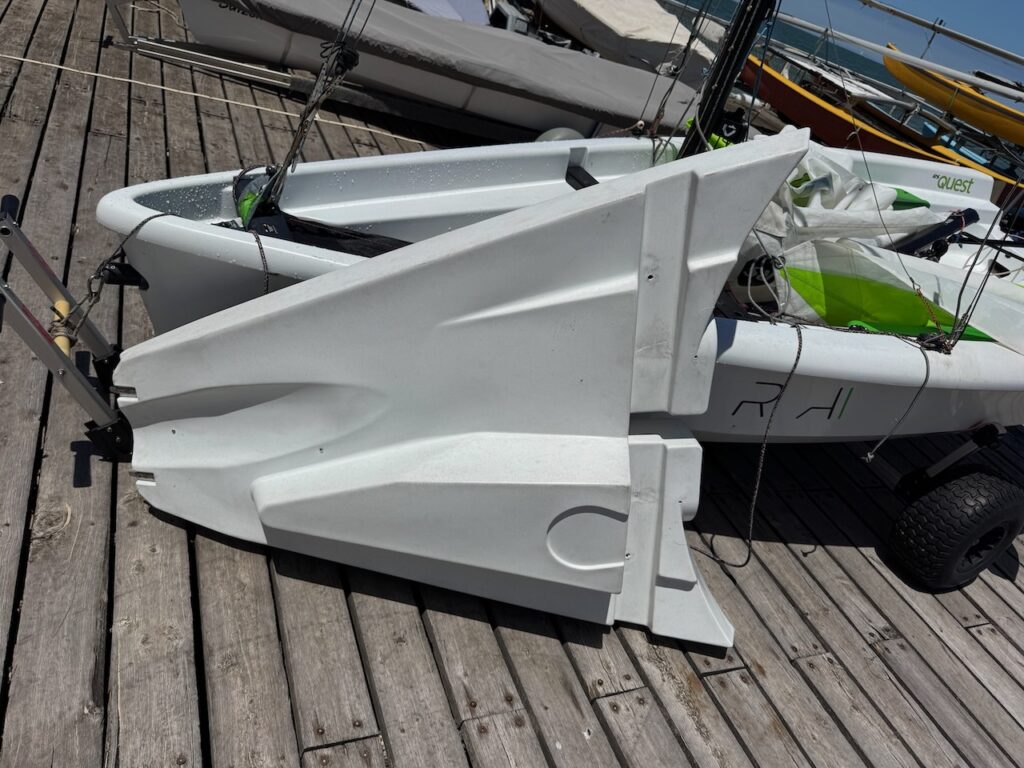
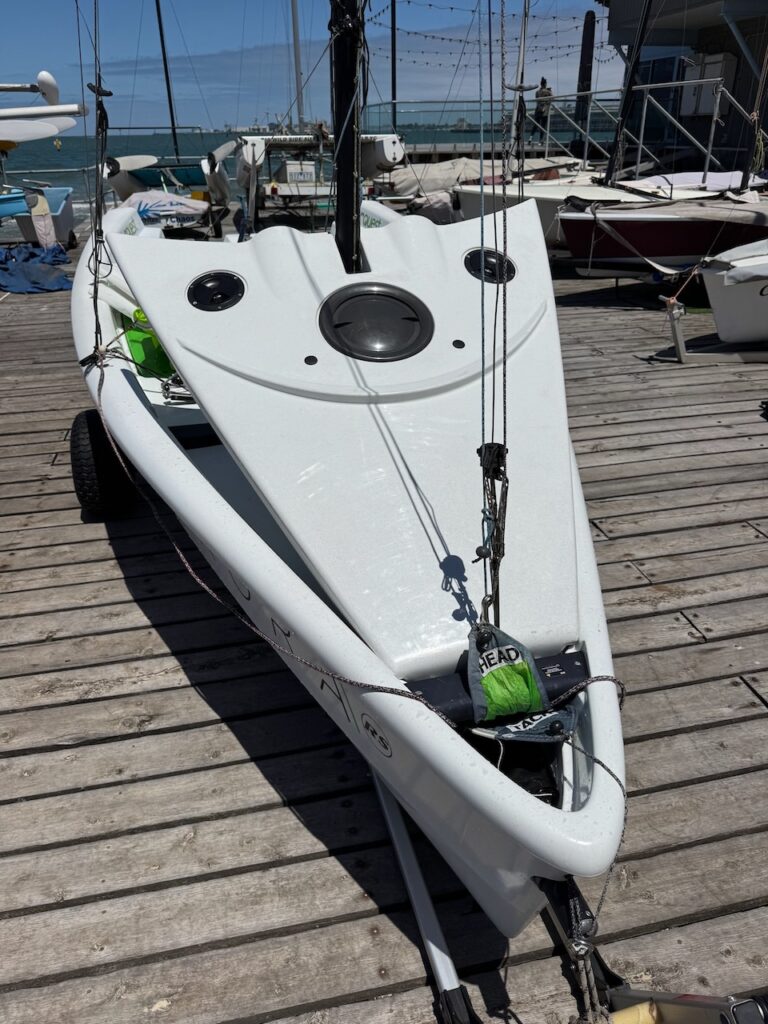
Apparently, we were the first to buy one. First impression: it’s not as heavy as I thought. I believed I had read somewhere that it would add about 40 kg to the boat, but I can easily lift it by myself, so I don’t think it’s more than 15 kg or so. Maybe RS has updated the design, or there are different versions because this one is also white and not grey like the ones you can see pictured online – which looks much better better.
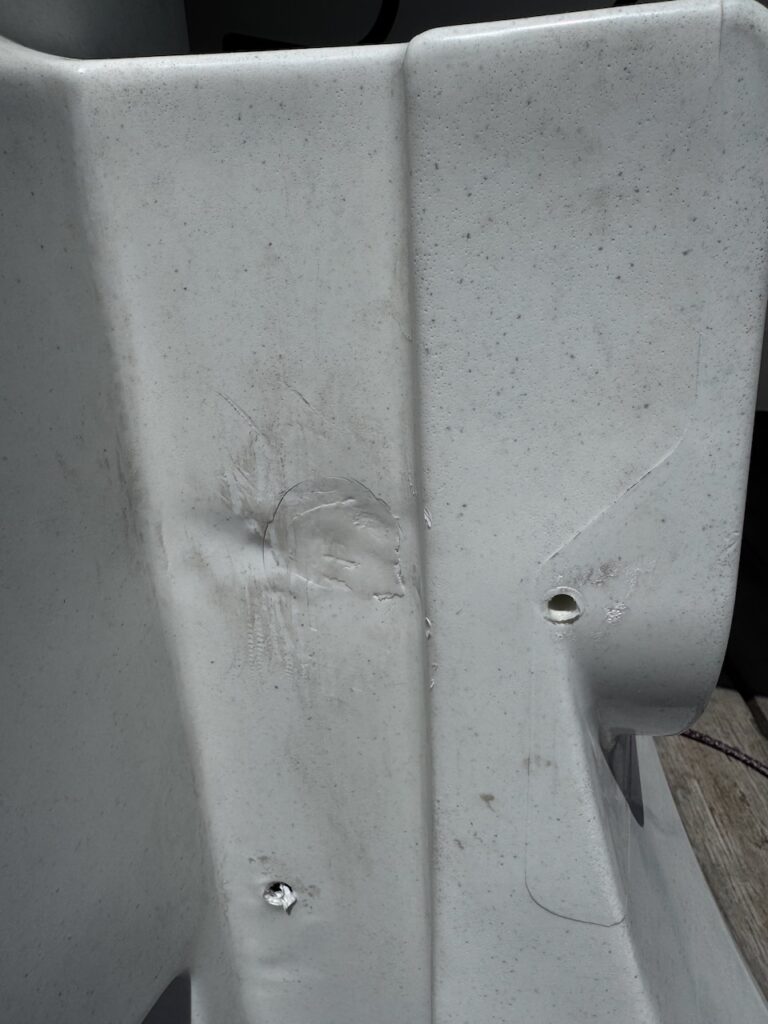
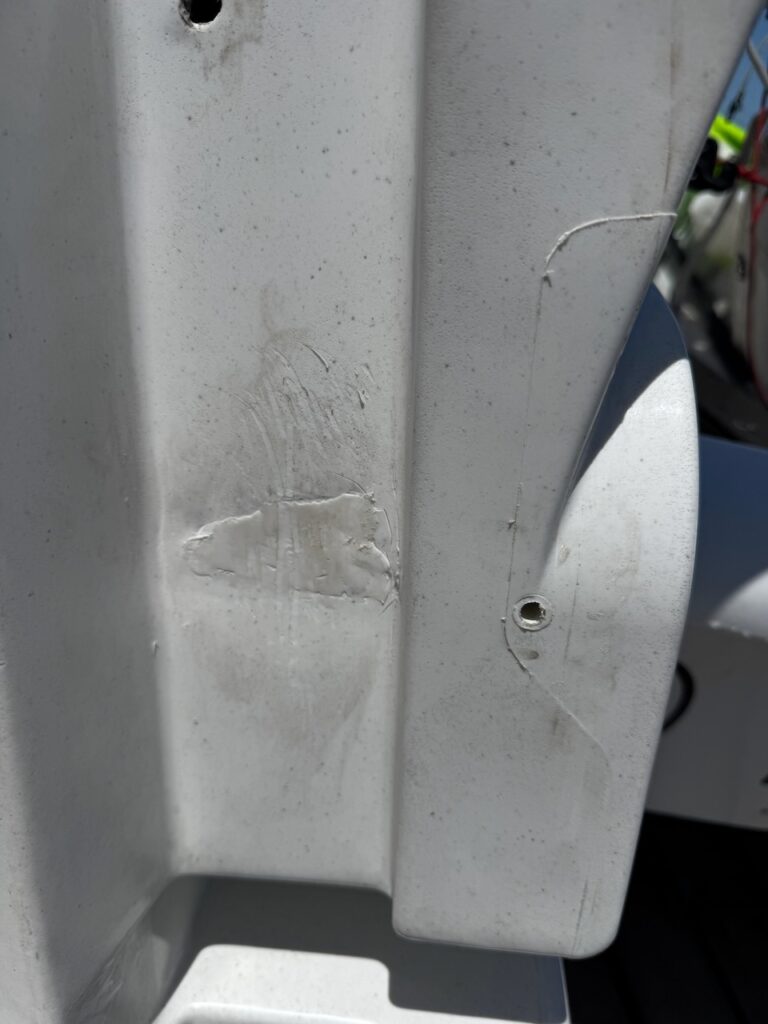
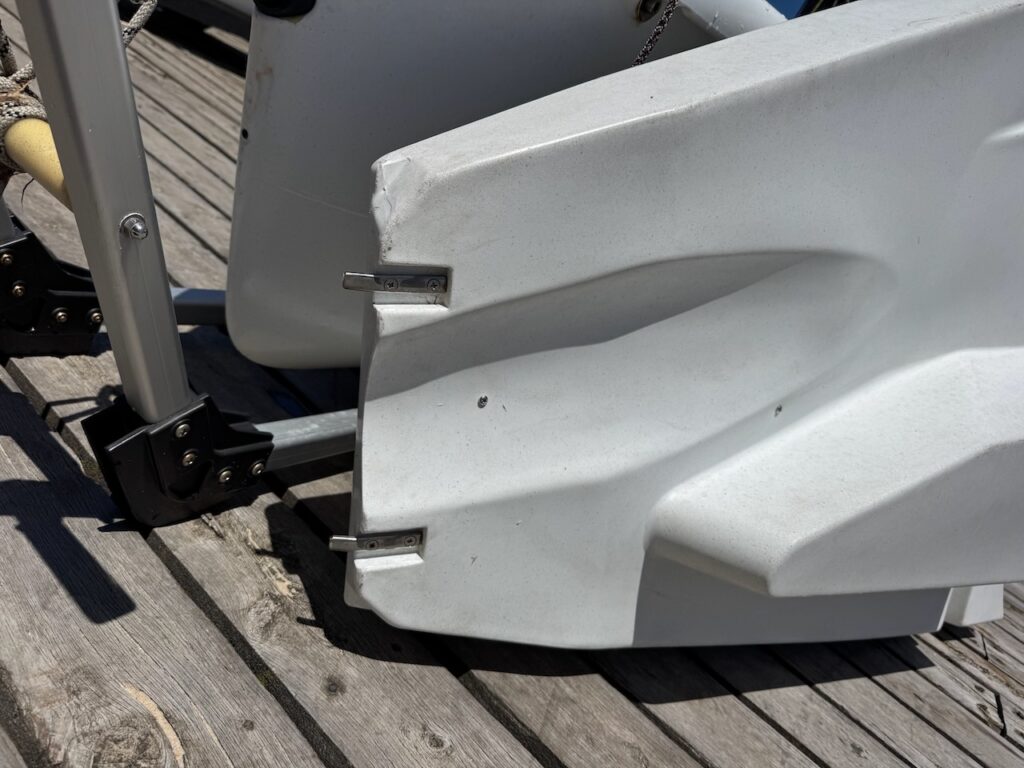
What didn’t look too great was that there seems to be a manufacturing fault in this one – it is actually broken in some internal parts of the deck. Interestingly, both decks that the local supplier had in stock had the same issue, and it looks like they’ve been patched up. However, there are still clearly visible broken parts. It didn’t seem to affect the function because, looking inside the hatch, the damage/fault does not go through the inside. It just does not look great for a piece of equipment that sells for $1,000 here in Australia.
Overall, fitting the deck works exactly like the rigging instructions tell you to do it and it’s in essence a two screw job.

It would have certainly been easier to mount it with a second person’s help. The first challenge was the compass bracket obstructing the way—I just couldn’t shift the deck over by a few millimetres, which meant I had to loosen and lower the bracket first.
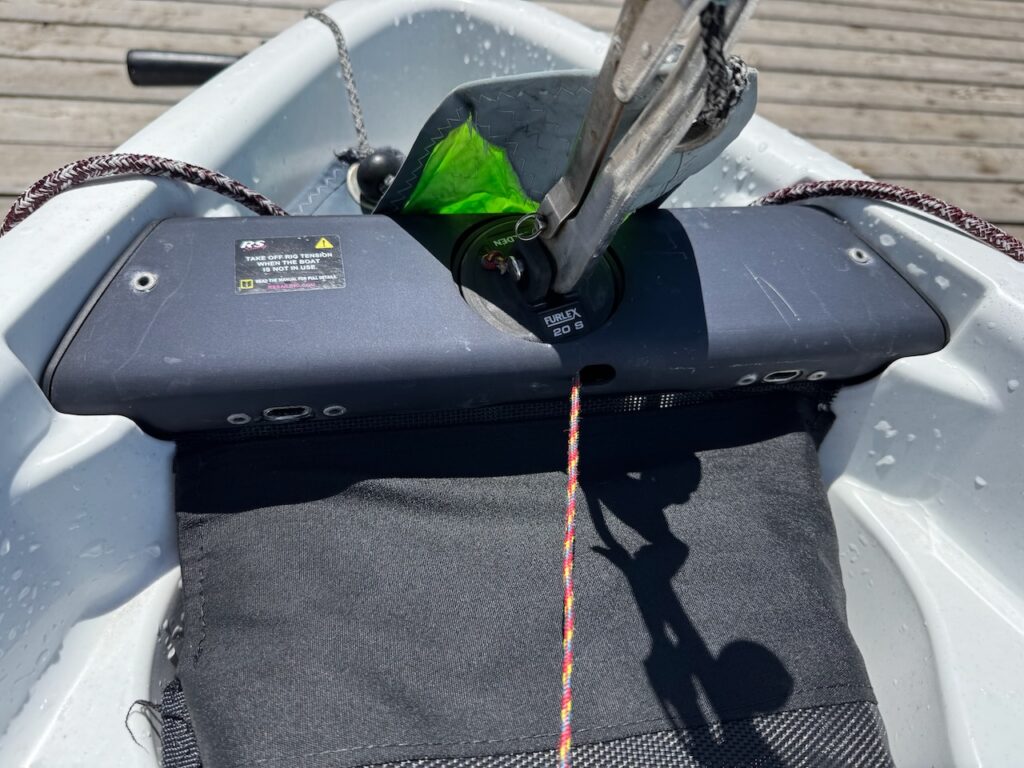
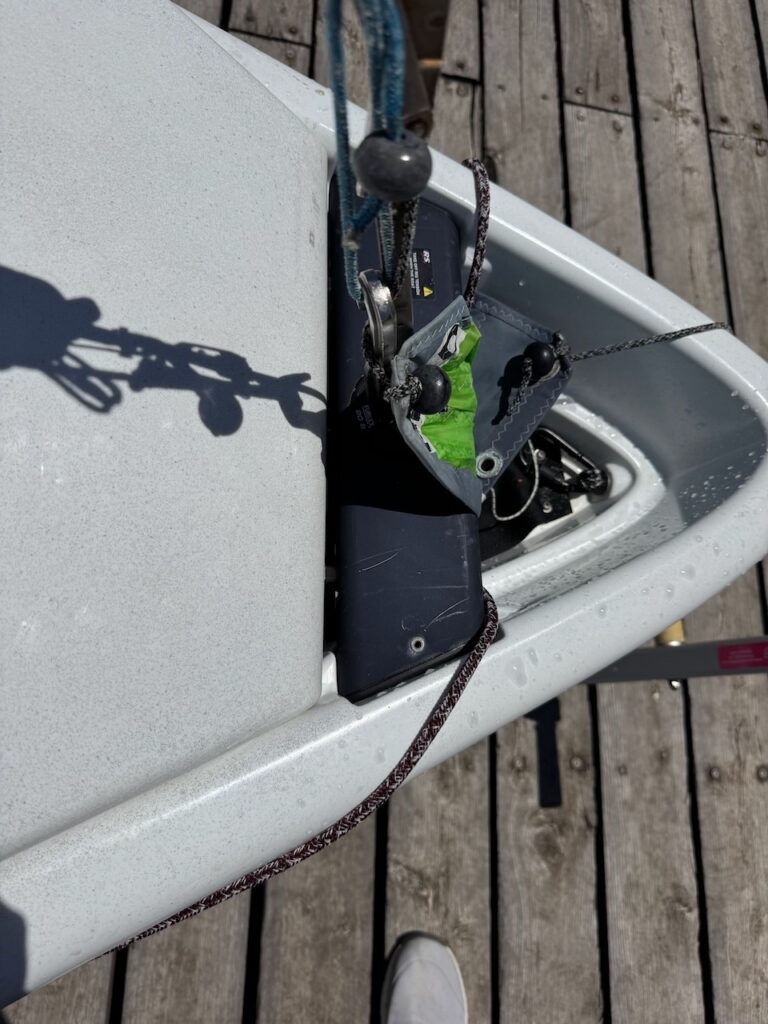
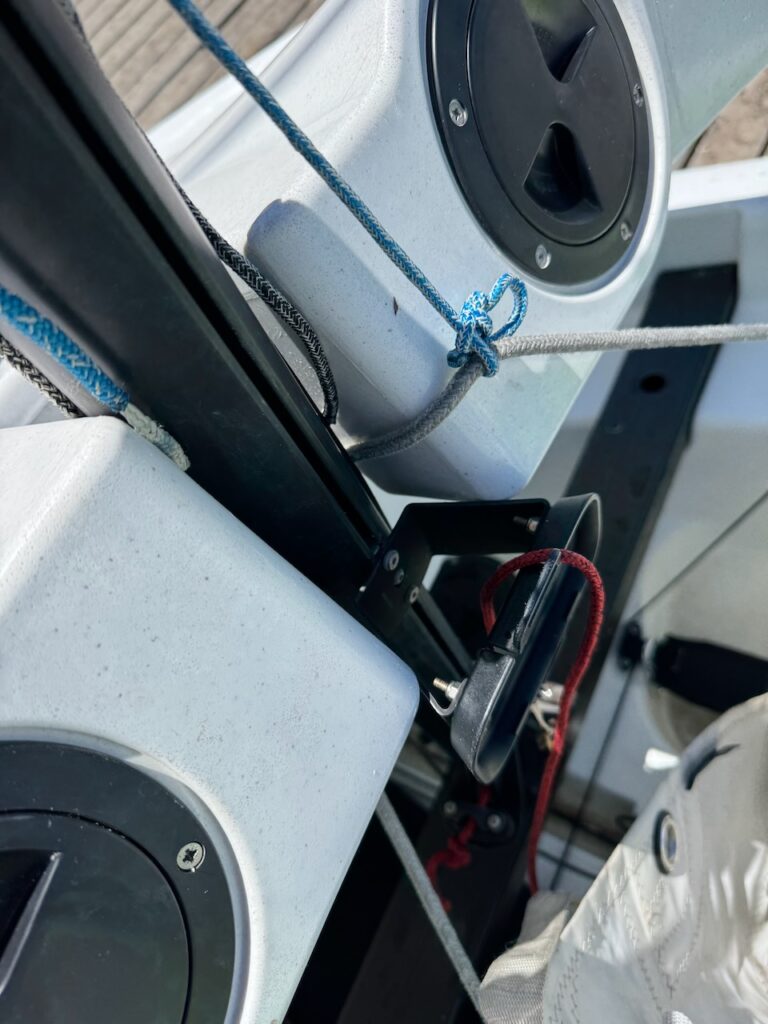
From there, getting the deck on was pretty straightforward; it just required a bit of pressure, which meant me sitting and standing on the deck to align the screw holes with the fittings in the cross bar and then tightening the screws. That’s about it.


It did look like it could use some bigger washers, but so far, so good – the deck is on!
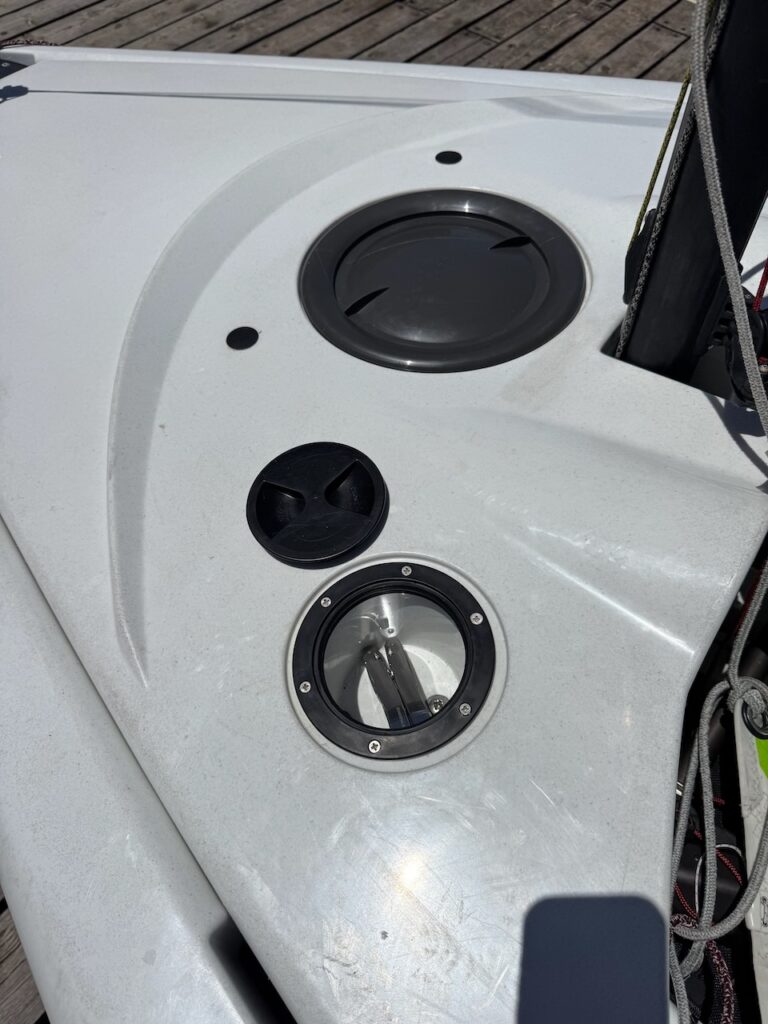
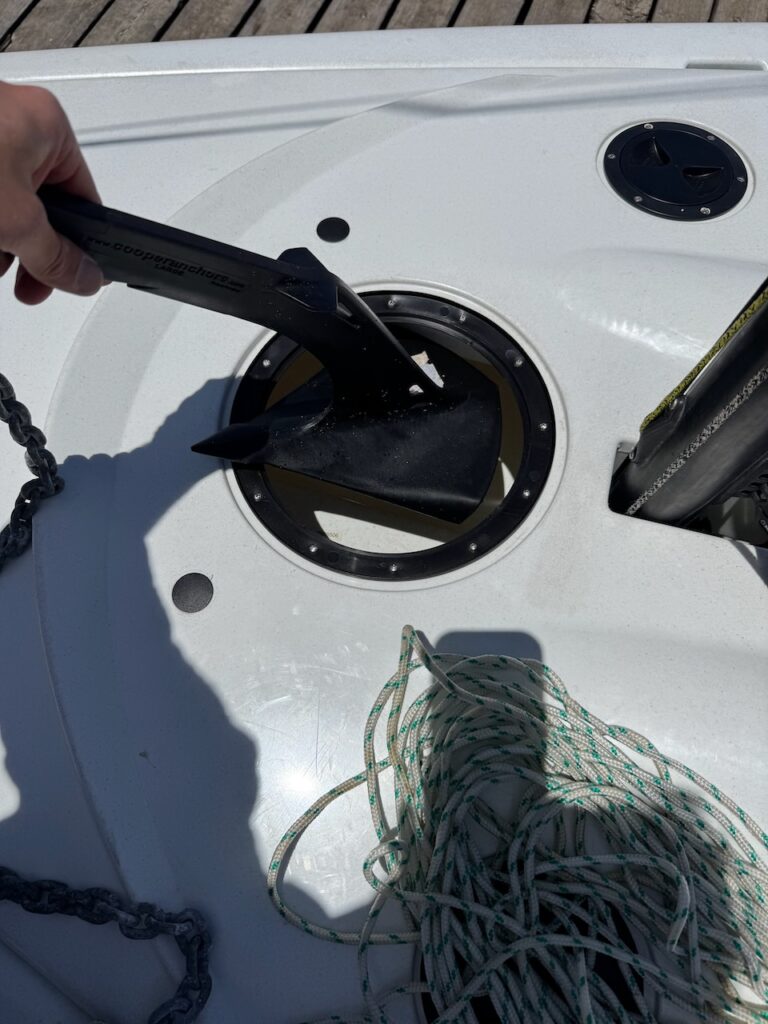
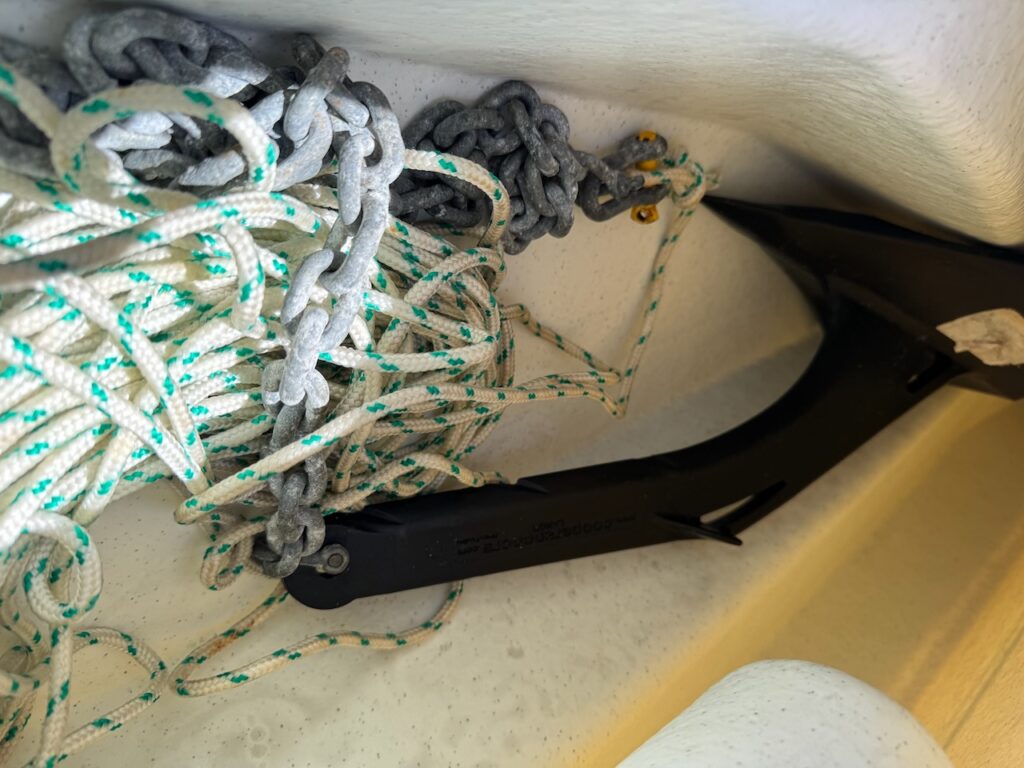
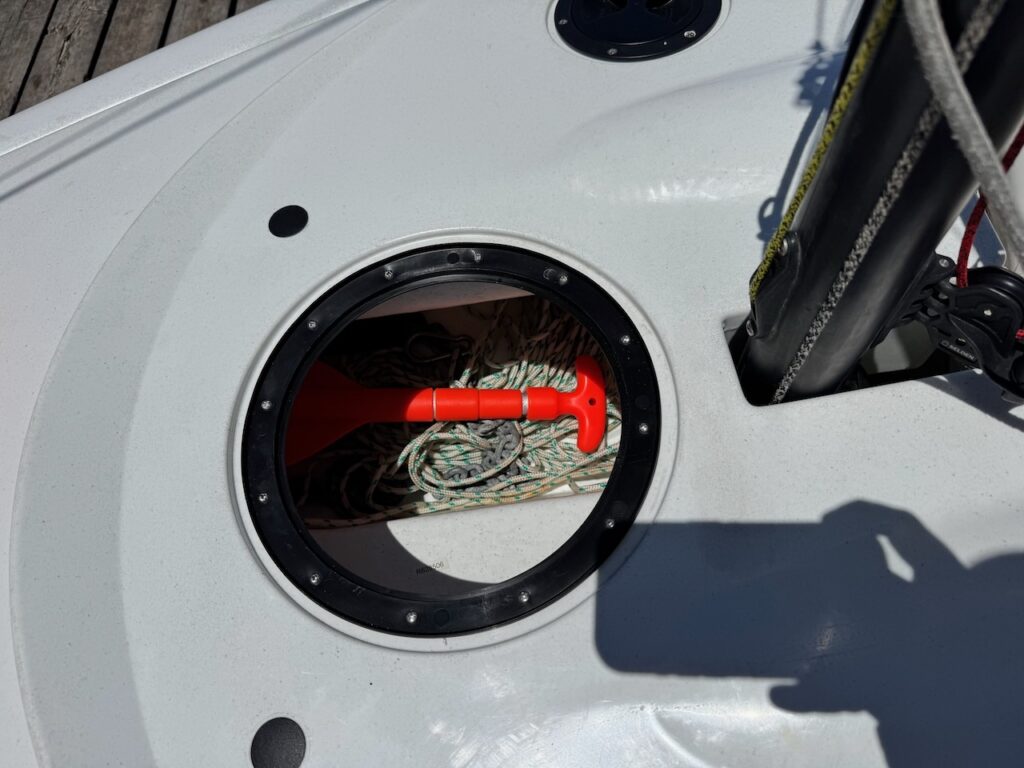
A quick test storing some gear also proved to be easy. The anchor, ropes, and paddles all went into the big hatch in the front (which has a foam divider for port/starboard sections and to prevent things from moving too far), and even the smaller top hatches seemed like they could be useful to fit some smaller gear.
Of note, and the rigging instructions clearly state that, none of the hatches are waterproof – some also have openings to the outside.